[DRAFT. The quotes are mine. Everything else is a first draft for me to rewrite.]
My truck is a 2004 Toyota 4Runner. It got a new head unit: a cheap 10.1-inch CarPlay screen. I only wanted one thing from it. I wanted my retro Toyota logo on the boot screen. That small wish turned into a night of firmware work, a striped screen, and a whole new UI.
1The unit

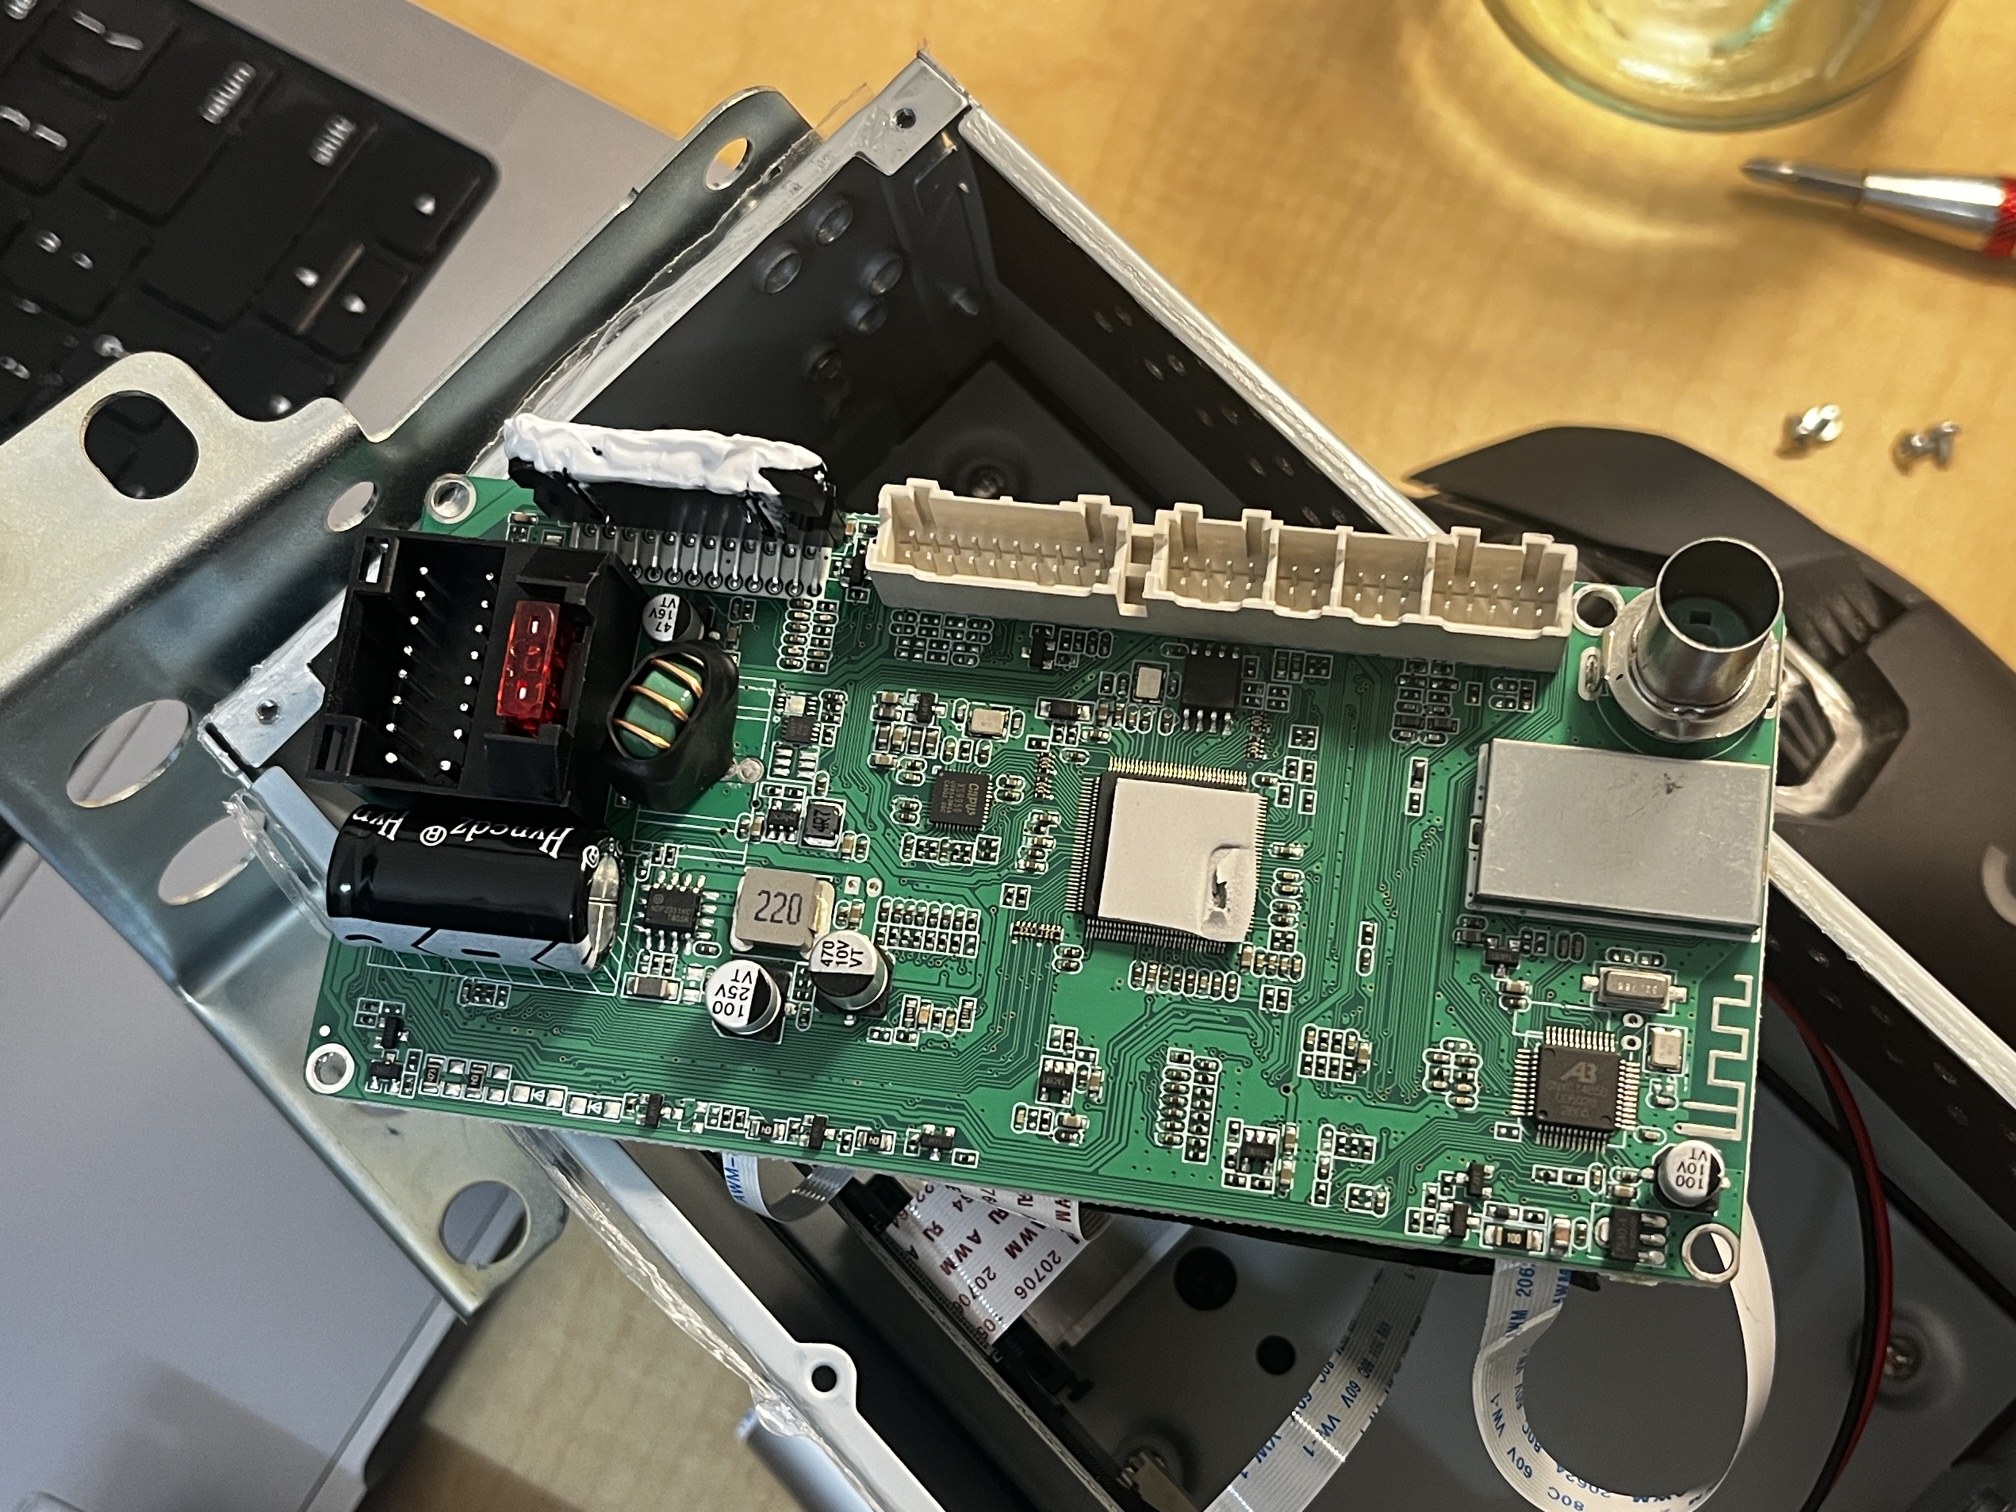
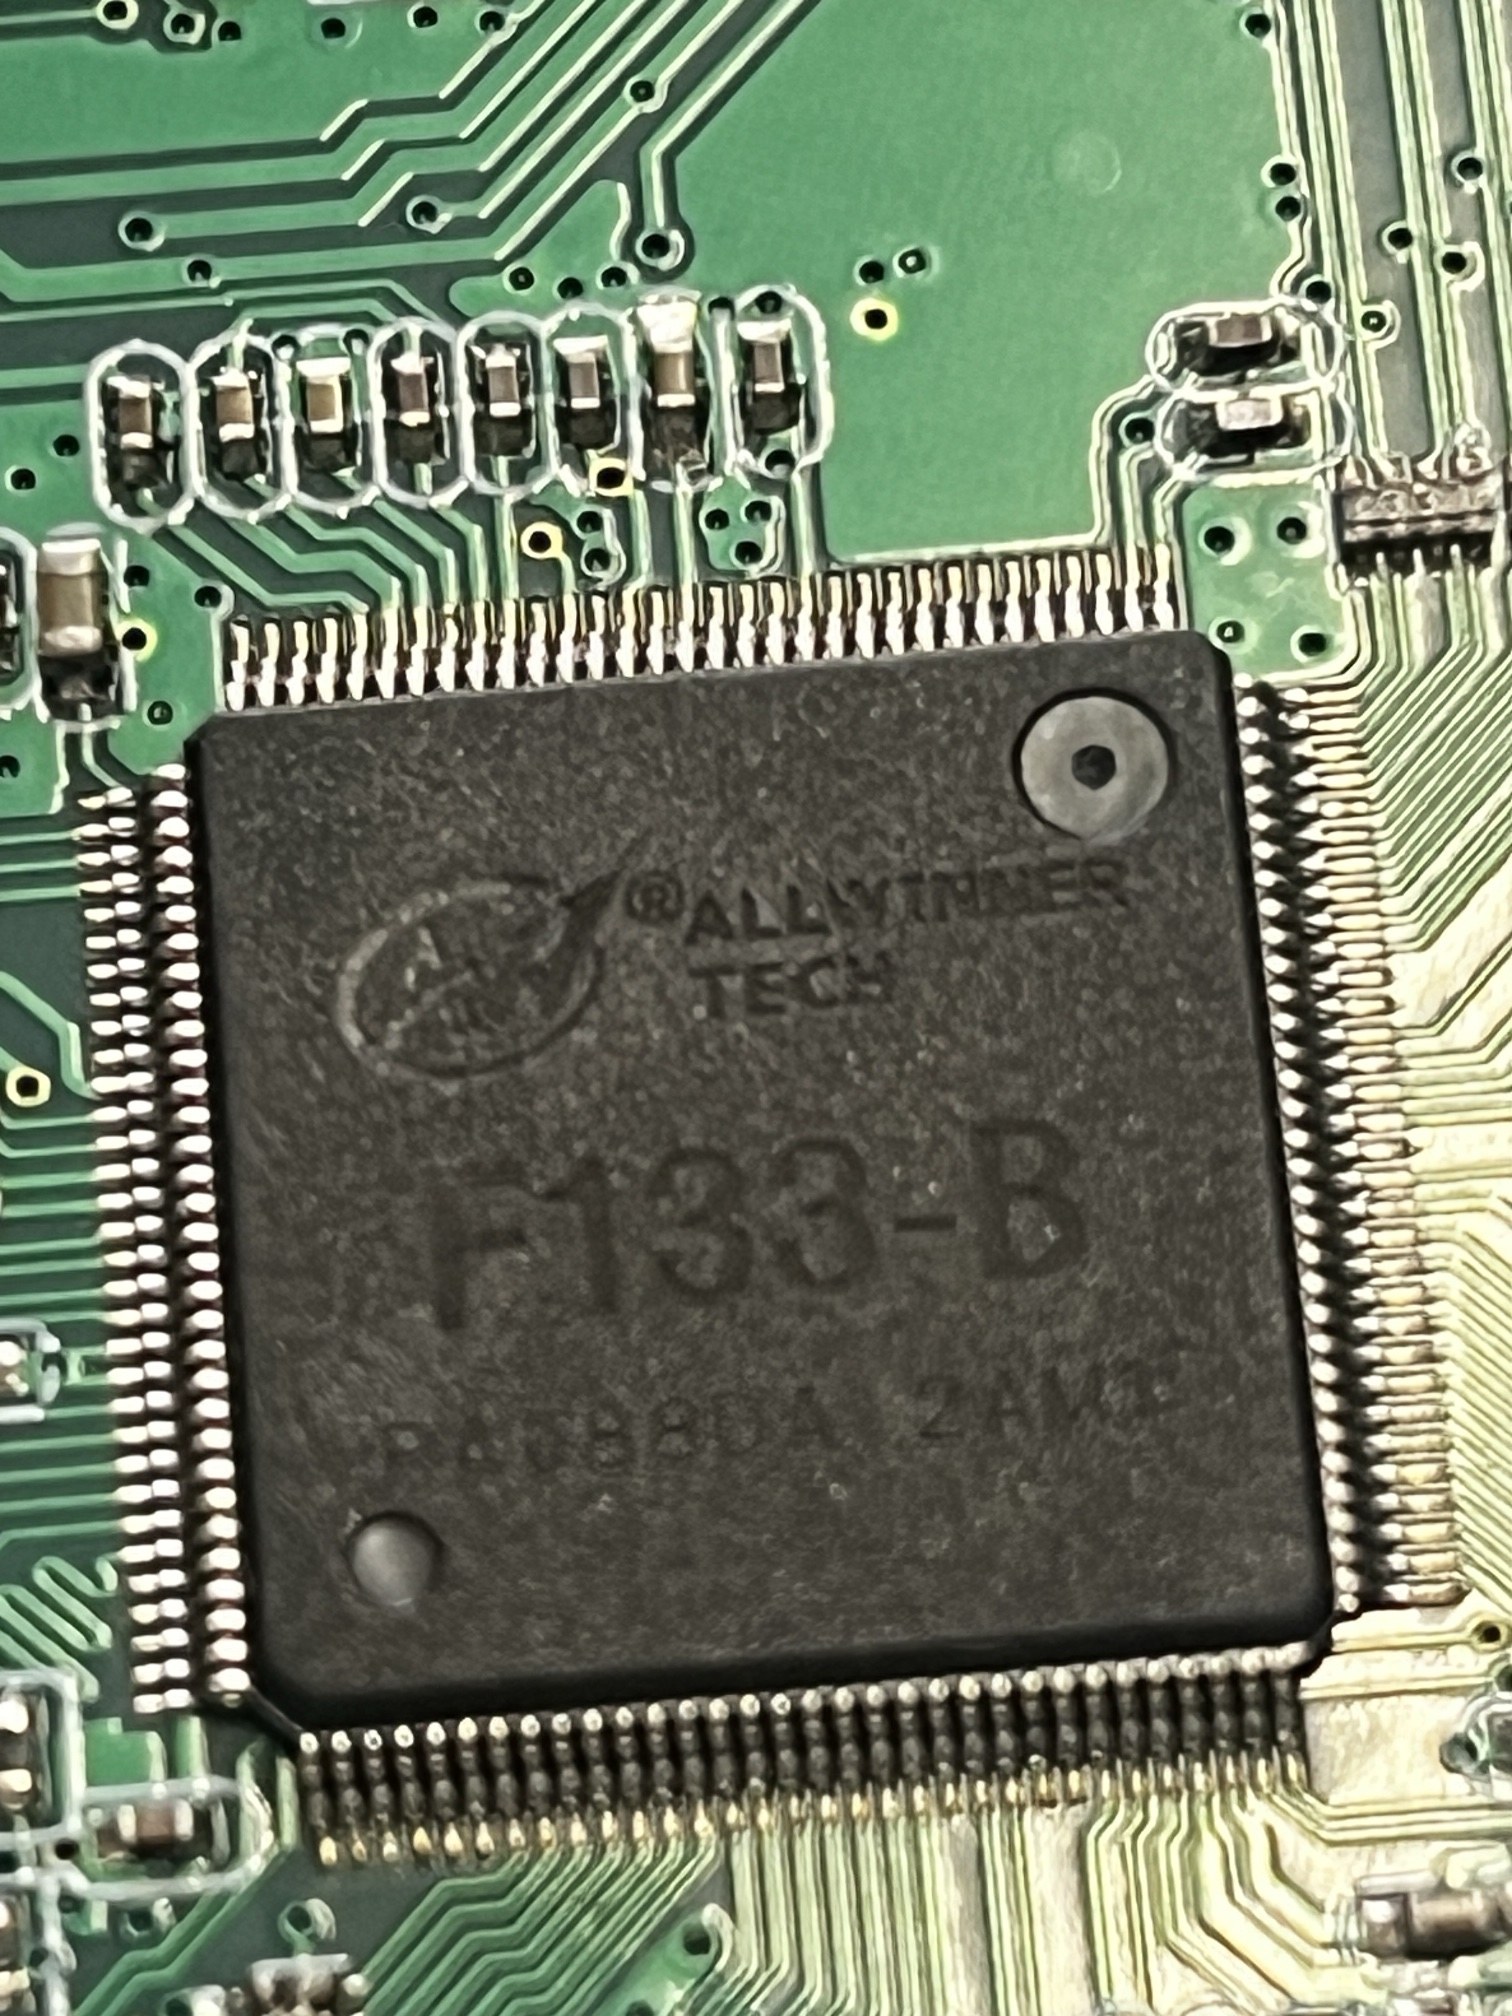
The unit is not Android. It runs a small real-time OS called Melis on an Allwinner F133-B. That is a RISC-V chip. The firmware lives on 16 MB of flash. A separate small MCU handles the keys, the lamps and the steering-wheel buttons.
The screen is a 720×1280 panel. It is a portrait panel, mounted on its side.
My last head unit ran Android. It cost almost three times as much. It also turned out to be fried.
2Just a boot logo
The manual says to put a picture on a USB stick and run an update. So I did.
I plugged in a USB make this happen please. There should be an image already there.
The update worked, but it broke everything else. The screen came up sideways. The menus came up in Japanese. The touch calibration was gone.
…after I did the bootload of Go, it became sideways for some reason, and then went into Japanese…
The vendor's support chat sent their own logo update. It did the same thing. We found the reason later. The USB updater wipes the settings partition on every update. Even a logo update resets the screen angle, the language and the touch keys.
I also wanted Play/Pause on the steering wheel. The unit had no way to set it.
Because I still want it in my vehicle tonight.
3The striped screen
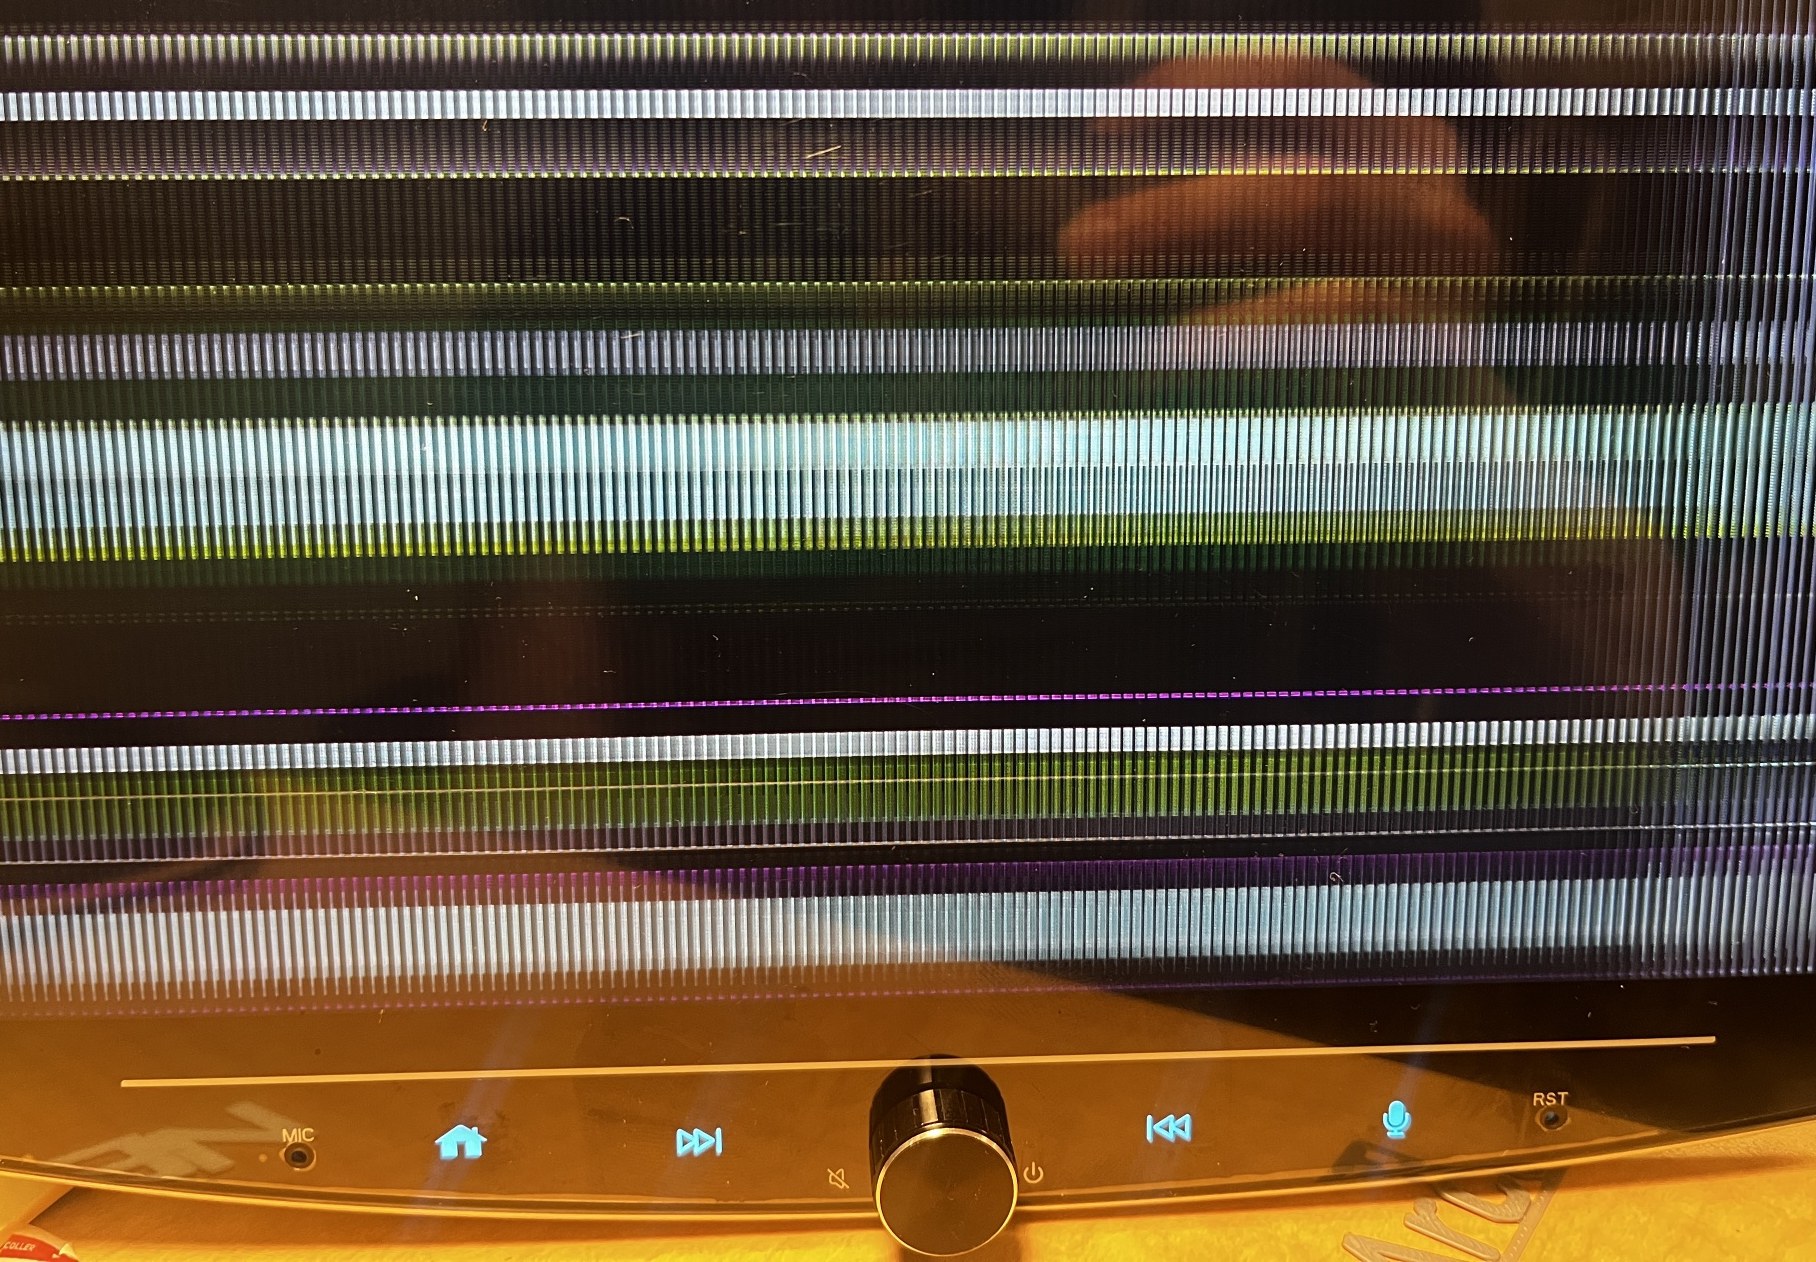
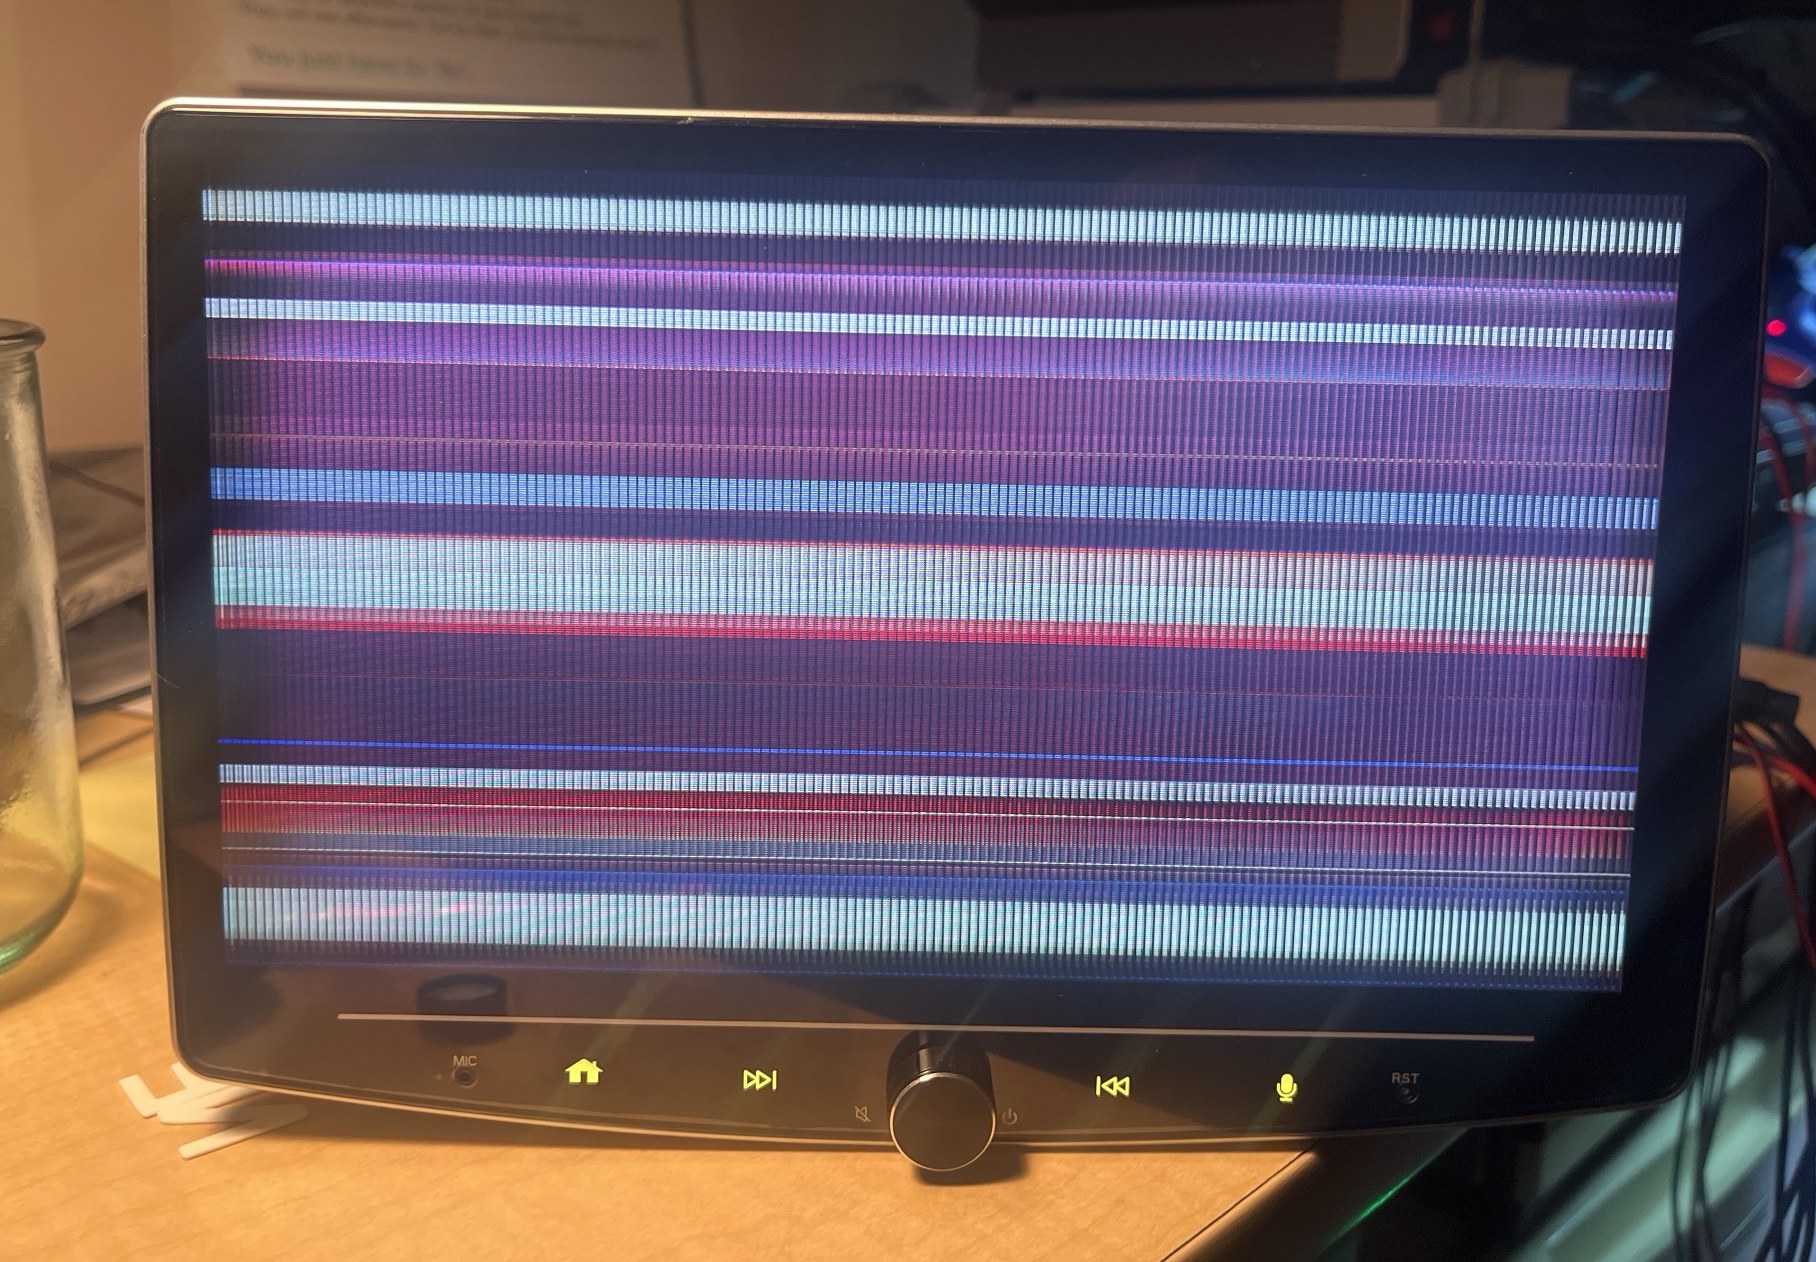
Support then sent a full firmware update. I flashed it. The screen came back as stripes.
Oof
It had finished the update and then rebooted into this. So I'm pretty sure the app is just broken now.
The firmware was for a different panel. The updater does not check the panel. And the original firmware was now gone.
I guess, lost opportunity to have taken the firmware off of the SPI chip then, huh?
4The firmware teardown
I want all of it. Create an opus worker for each thing. Oh and i want to be super careful with this so we should try recompiling it with existing settings and then we could make sure the literal exact same output as what they sent came out, just so we know we got the build chain down.
I split the work across a team of Claude agents, one per question. Each one wrote a report.
4.1The image
The first job was to take the firmware image apart and put it back together. The rebuilt image matched support's file byte for byte. After that, I knew that any change we made was the only change.
4.2The UI files
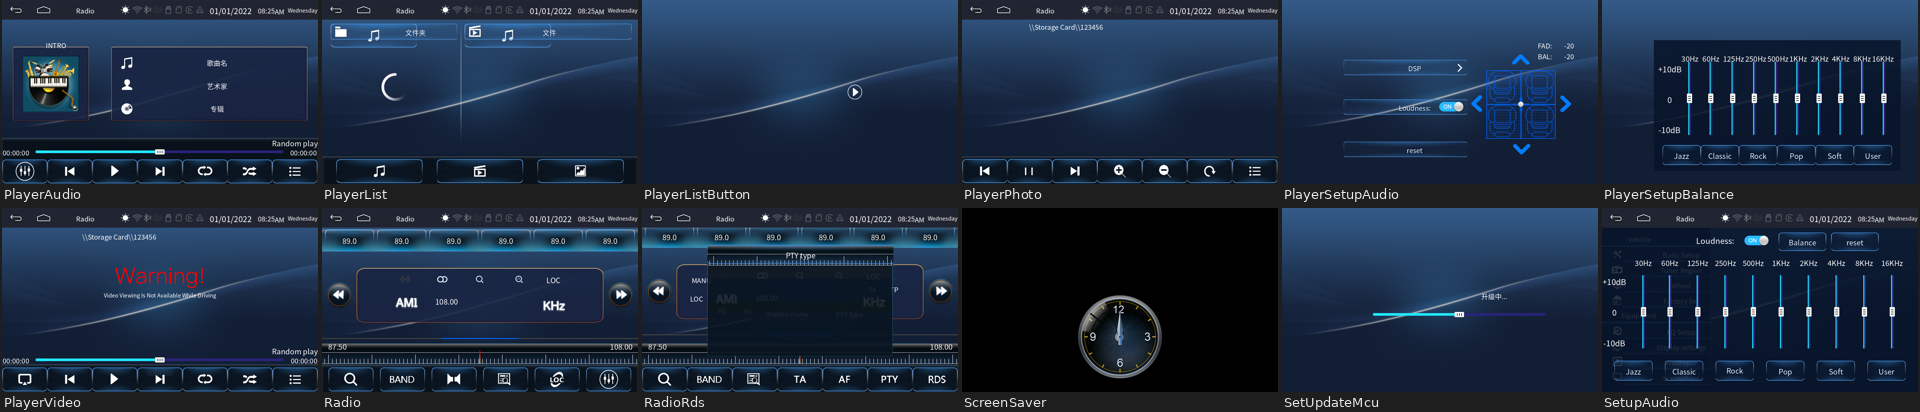
The UI is a set of layout files and 1,601 bitmaps. We decoded all of them, and the font and the language tables too. With them, a tool could draw every screen of the stock UI without the unit.
4.3The keys
The steering-wheel buttons are learned by the MCU, not by the app. The app tells the MCU which function to learn. Play is one of those functions. The app supports it, but the setup page has no Play button on it. So we added one.
There are three different sets of key codes: the app's, the front panel's and the MCU's. Most of the work was keeping them apart.
4.4The car
my main thing was being able to take in vehicle data like speed or instantaneous mpg so i can try to optimize my driving... Also my vsc lights are already on lol no harm there.
The radio has no CAN bus wiring. On this truck, OBD runs on K-line. Instant MPG would come from a small ESP32 on the OBD port, not from the radio. That part is still research.
5The panel night
The striped screen meant the firmware was starting the panel with the wrong settings. A panel needs a start-up table of commands. We had to find the right one.
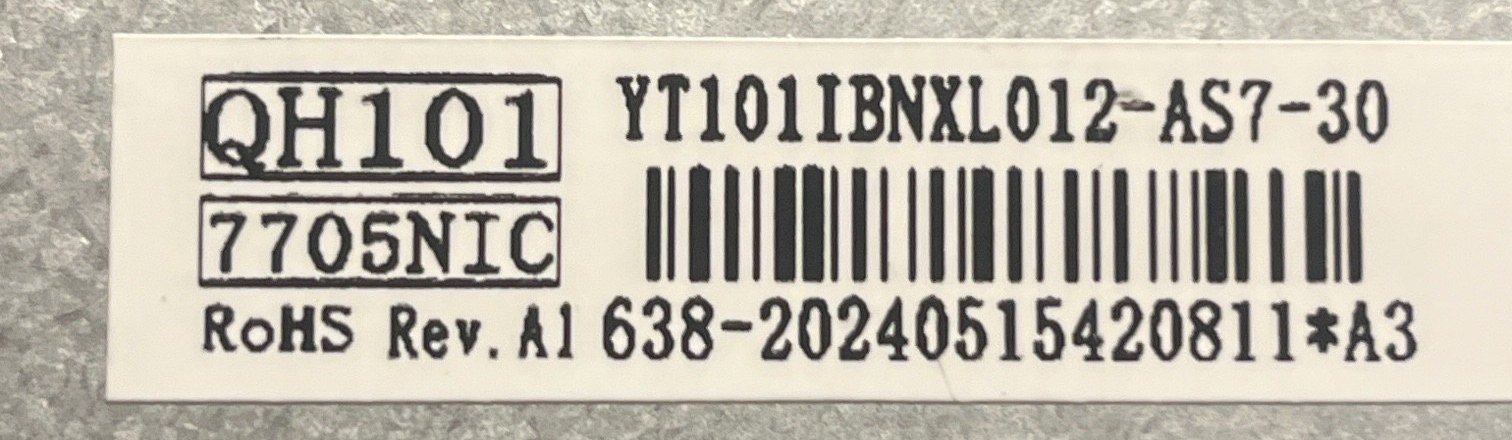
I took the panel apart and photographed every label. One label said "7705". That pointed to the panel's driver chip, a Forcelead FL7705N.
I want to make sure that all of these are using conservative values on the stuff that might break the display or otherwise degrade it over time.
Then came eleven test builds. Each one went onto the stick and into the unit. Each one came back as a phone photo of stripes, a dim glow, or a grey screen.
the stripes are clearly there. They are just very dim. They have not gone...
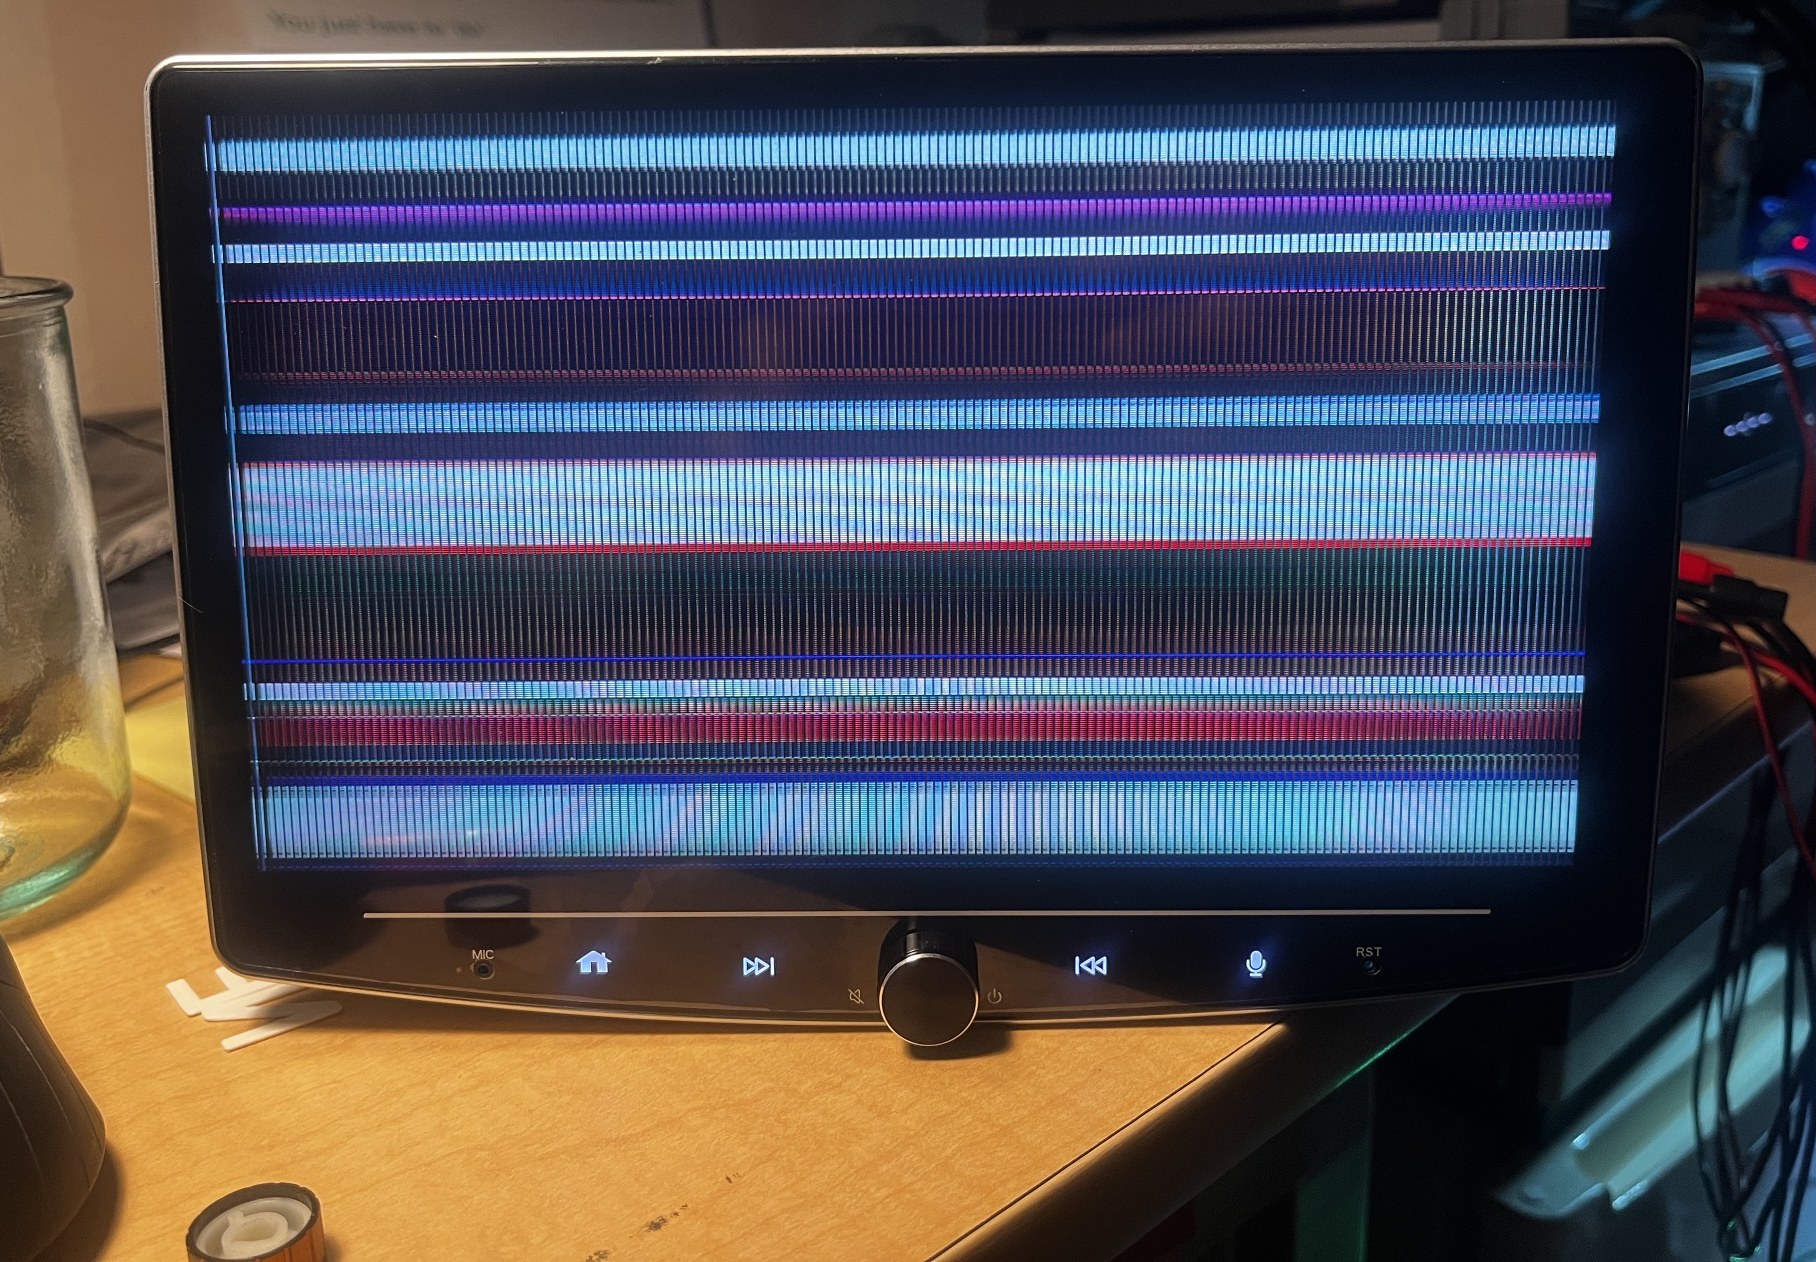
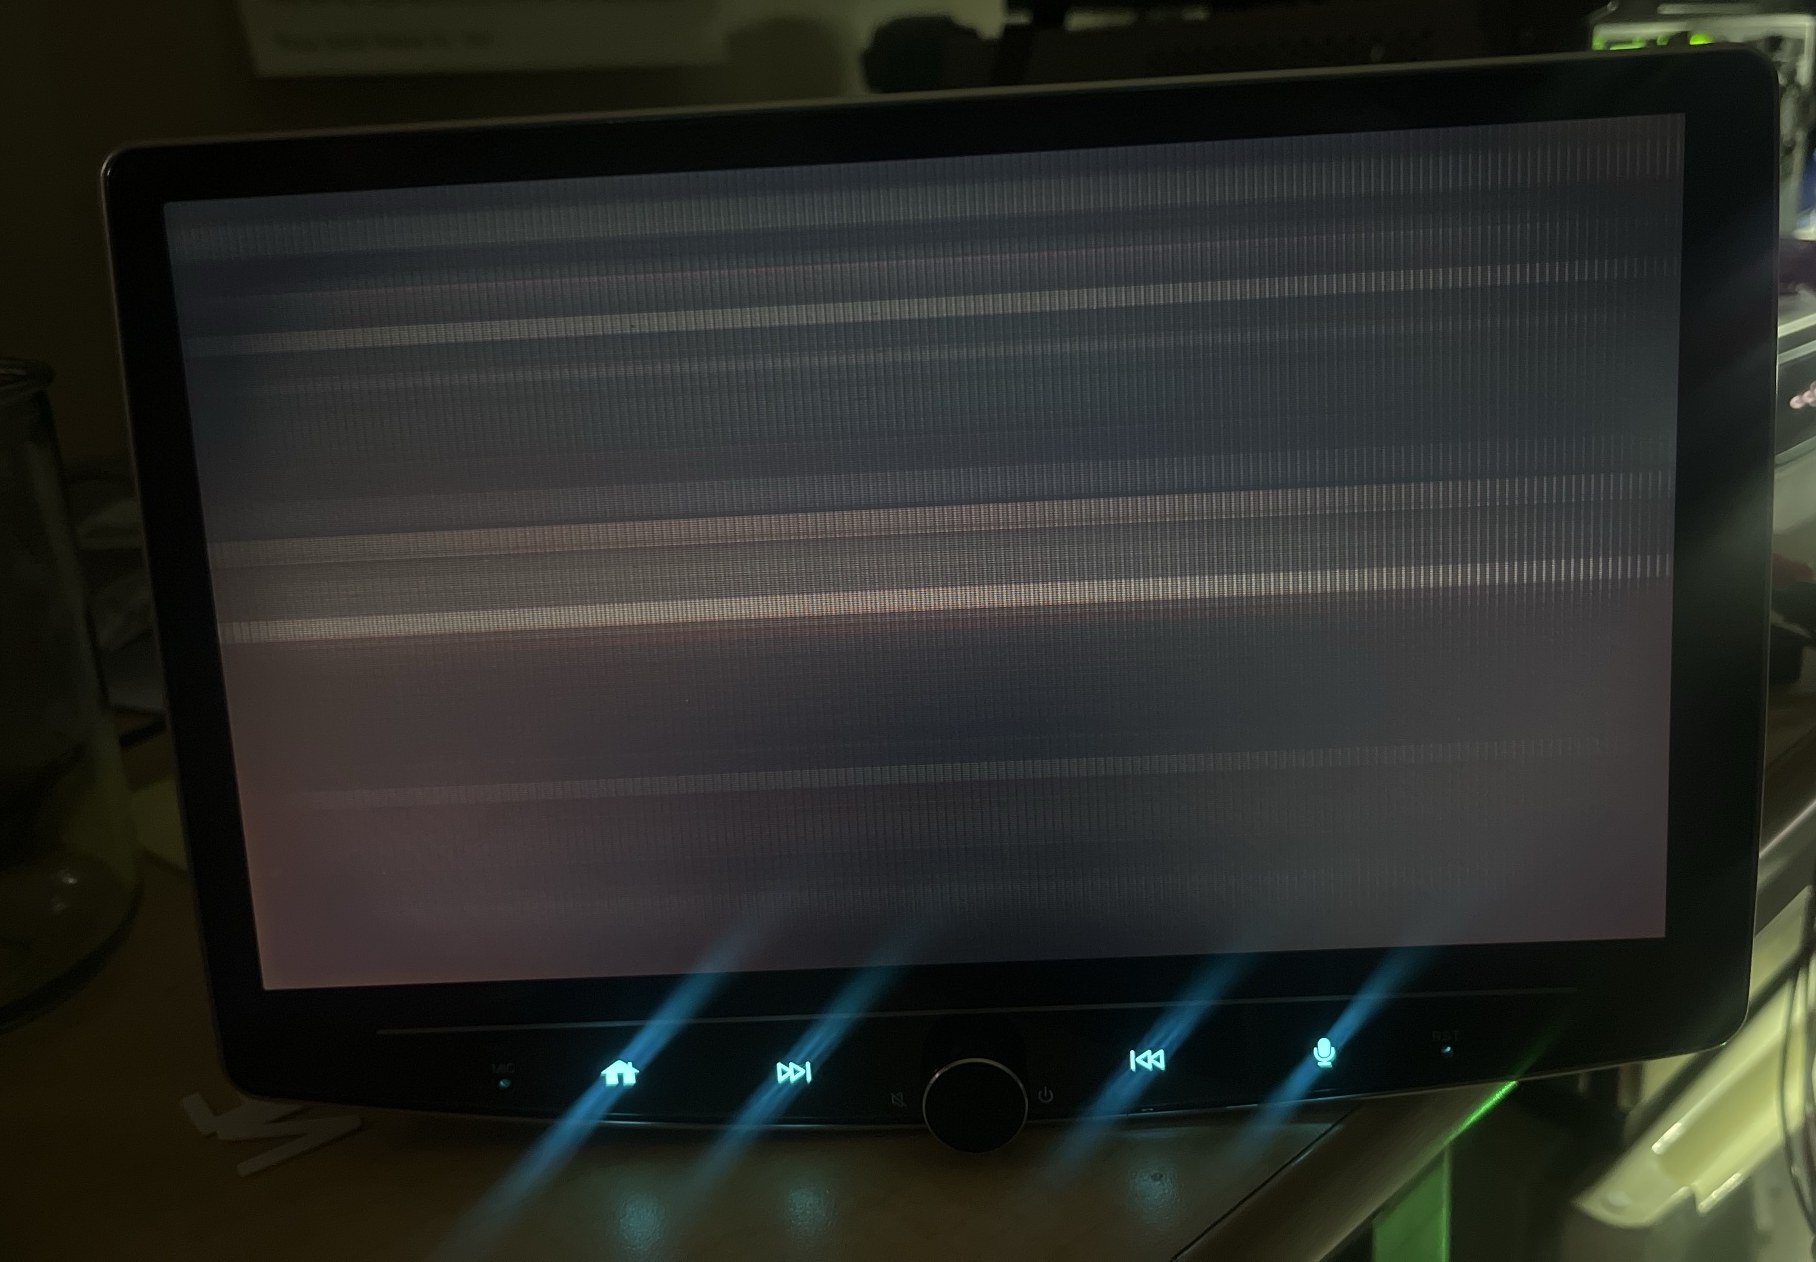
The fix was the panel maker's own table for this exact panel and driver chip. It was in a public source. The build used it with the voltages kept at a safe limit.
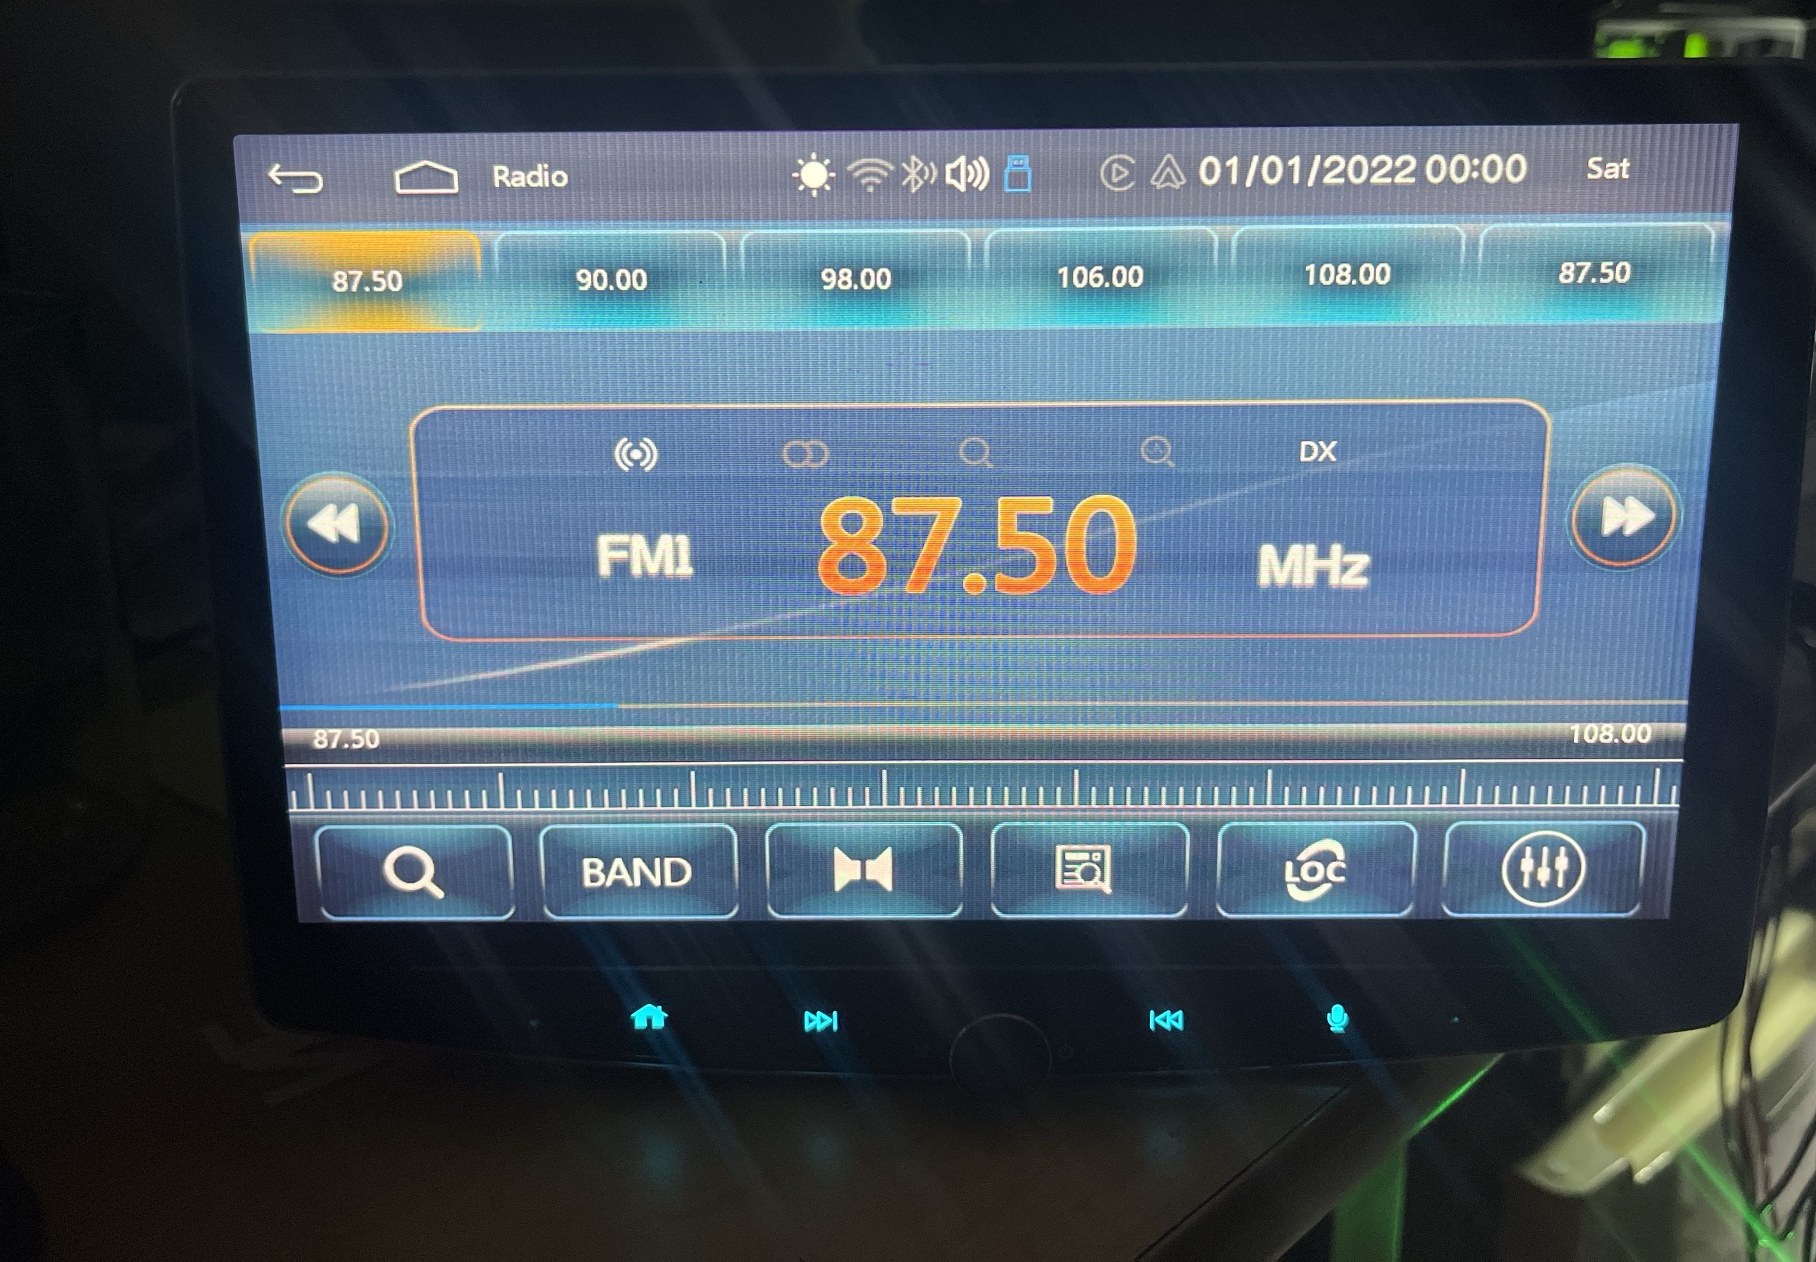
WOOOOOOOOOOOOOOOOOOOOOOOOO
it flickers but ITS AN IMAGE.
Coincidentally, the moment that this new firmware booted and I saw the login screen, the support chat also sent a new firmware
Support's new firmware had the right panel table. It did not flicker. Our flicker came from our own voltage changes. So the unit now uses support's panel table, untouched.
6Making it mine
On top of support's firmware, the build now adds:
- my Toyota logo, turned so it shows upright on the portrait panel;
- Play/Pause on the steering wheel;
- English, the key beep off, and yellow key lamps;
- the touch keys learned once and kept, so an update does not wipe them.
Overall looks good, though every time it restarts, the 'touch learning' has to be redone
Next came a radio on/off button, because the radio played every time the unit woke up.
I want none of those. I want a literal new button in the ui
The firmware also shipped with the Japanese FM band. The build now uses the US band.
7The emulator
Every test on the real unit meant a USB stick, an update and a reboot. A bad build could brick it. I wanted to try things on my desk first.
The first try was a web page that looked like the unit.
But I'm not able to change any of the values. And swiping doesn't work... I think you just made, like, a web page. But what I said is I wanted it to be an emulator.
The second try is a real emulator. It runs the unit's own app code on an emulated copy of the F133's RISC-V core. Small Python stand-ins play the OS, the MCU, the radio tuner and the audio chip. Touch, swipe, the radio scan and the settings all work, because the app itself does them. Settings save at ignition off, as on the unit.
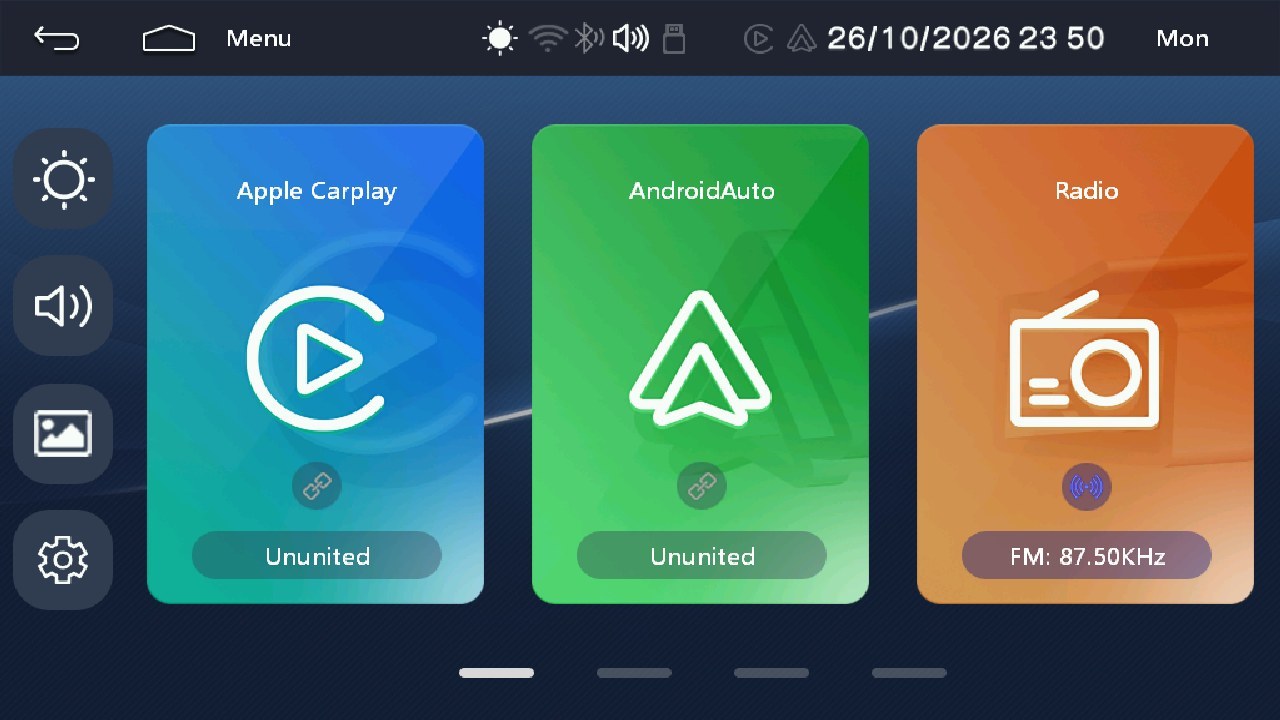
Yeah, do it all to completion. Until this is a faithfully emulated thing so that we can just test stuff out. On the emulator, before and have fairly high confidence that things are going to work out on the real unit.
So how can we make sure that the new firmware is not going to brick the system?
Every build now goes through a test suite before it goes on a stick: 115 fast tests, 32 slow tests and 51 tests in the emulator.
8The retro Toyota UI
The stock UI looks like a phone.
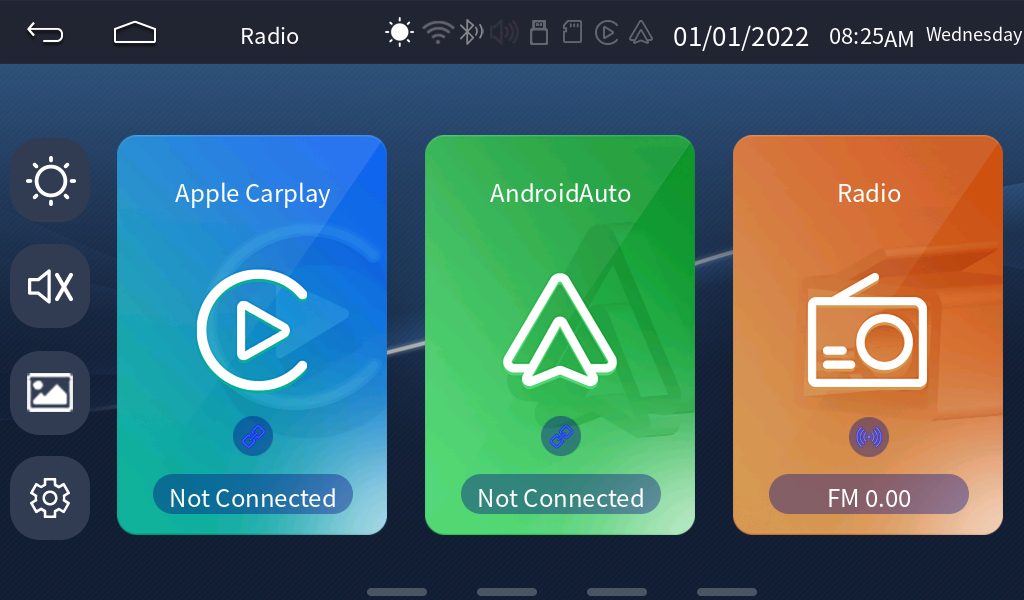
I asked for home-screen ideas. I got 70 of them: general ones, ones with MPG, and TRD and off-road ones. Concept #11, "Retro Wordmark", was the one.
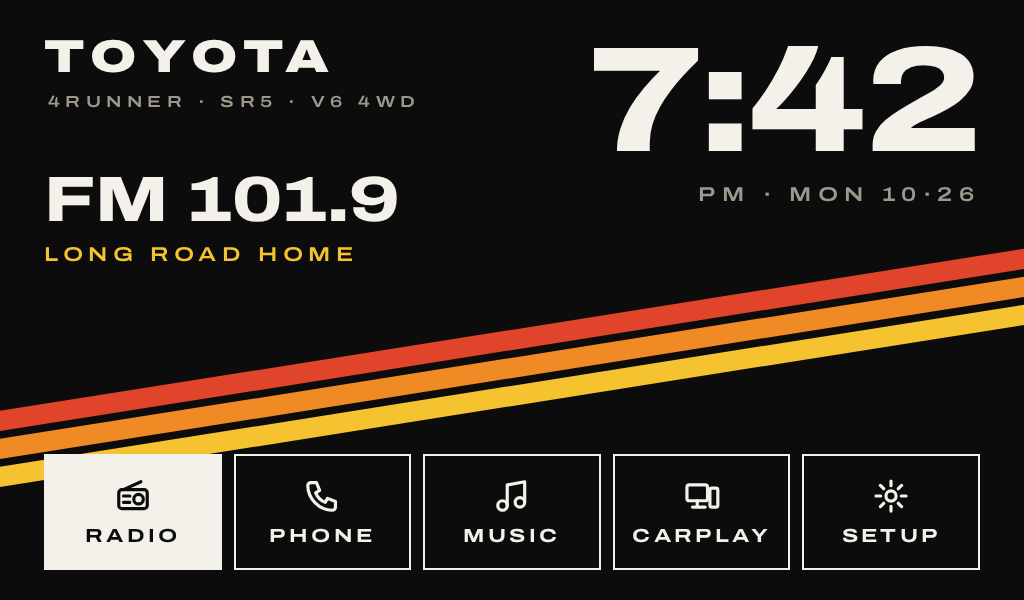
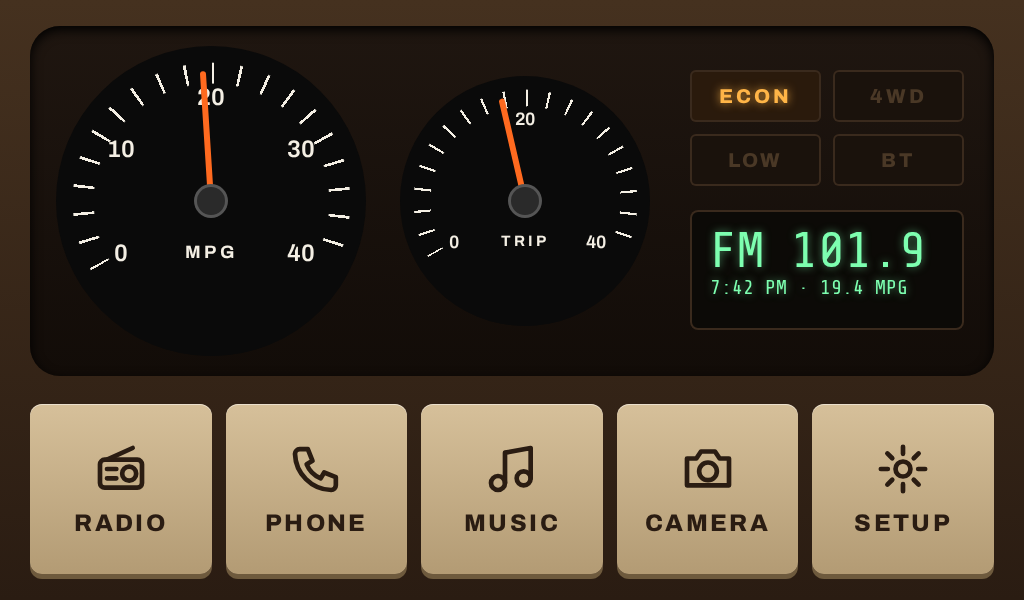
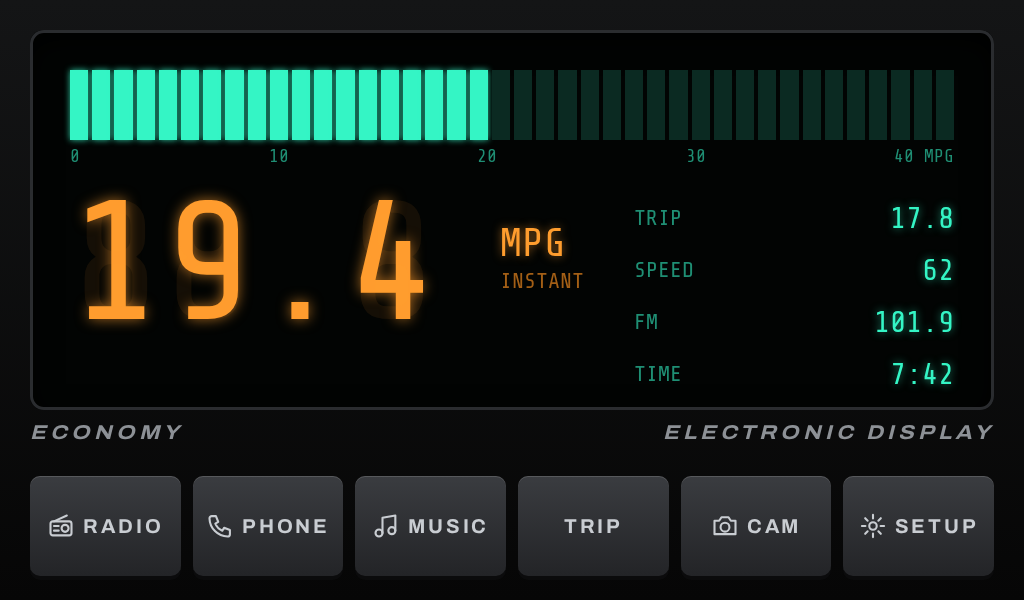
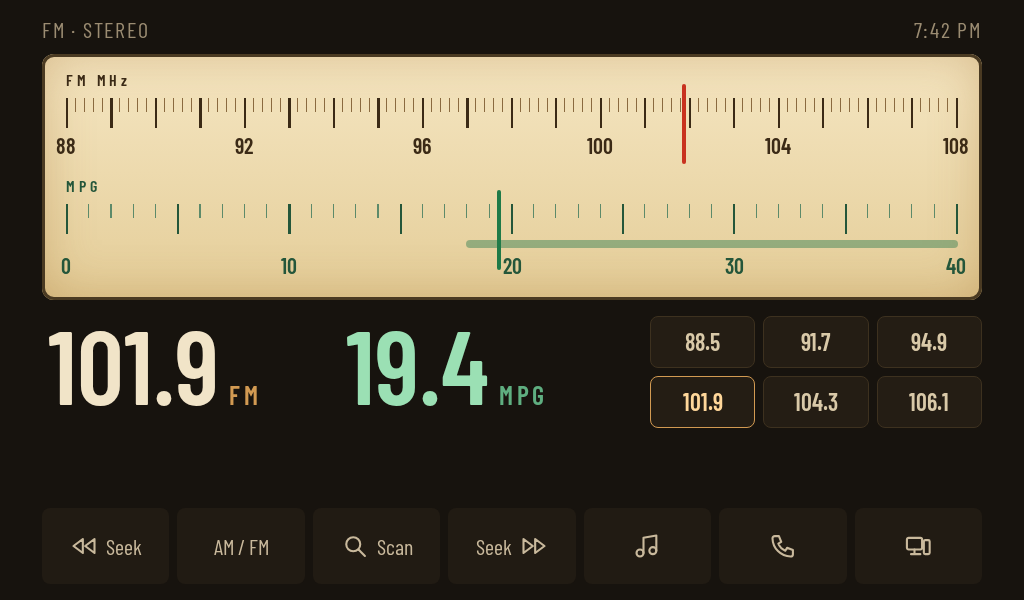
What if we tried implementing ui concept #11 as a first pass attempt?
Ok lets have an opus worker rebuild the entire ui based on this concept
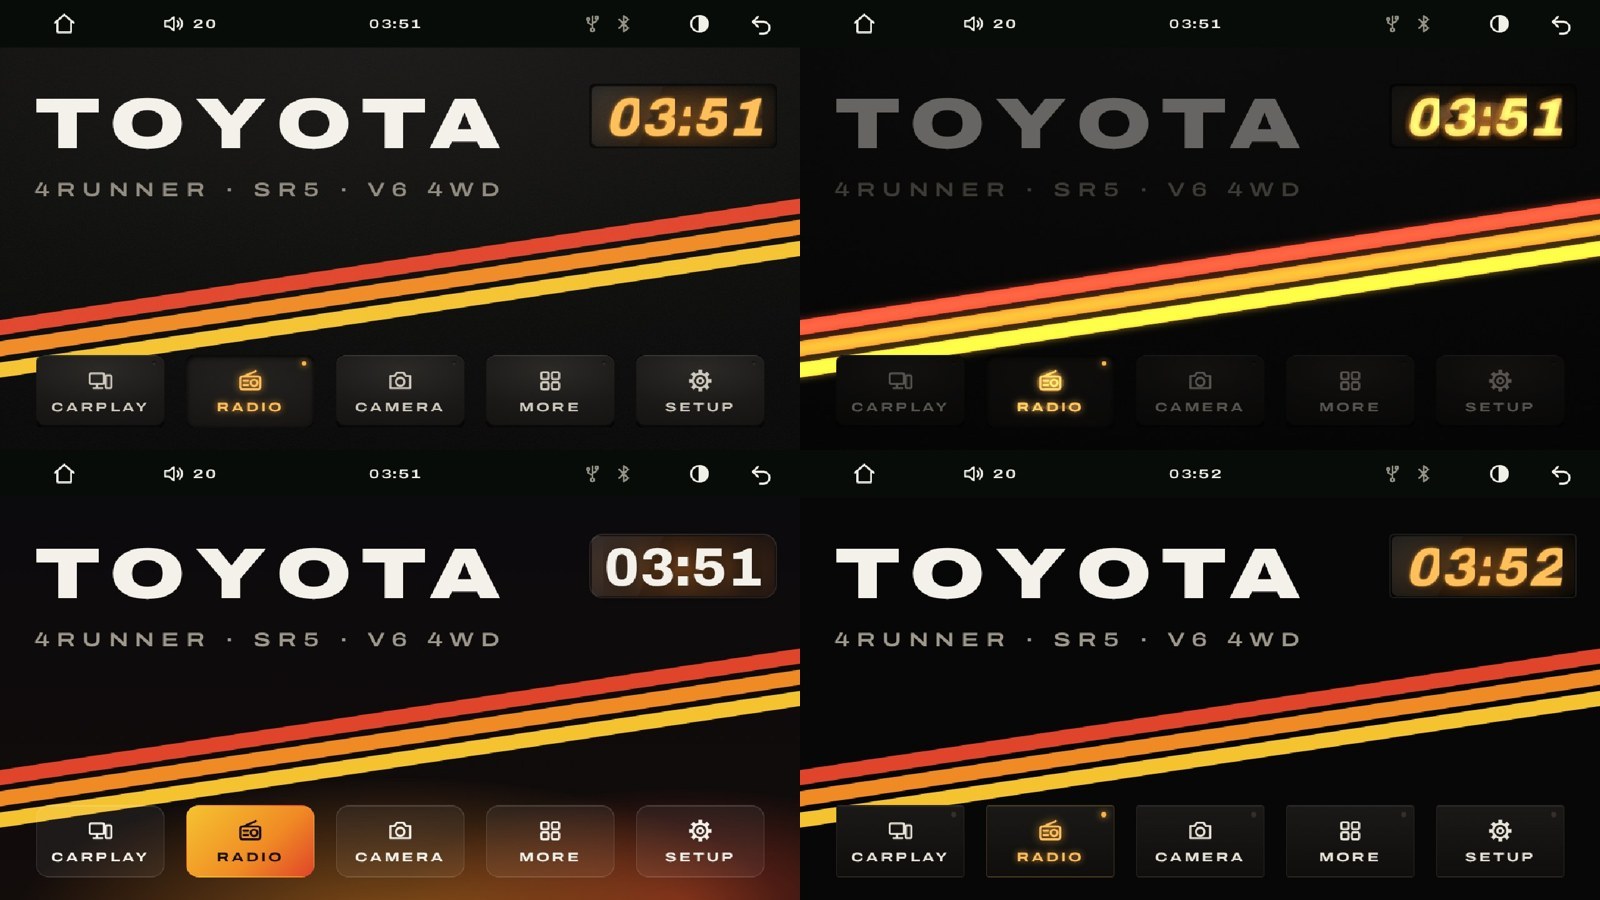
All 76 pages of the app now have the retro look: dark, cream and Toyota orange, with the stripes from the logo. There is a big clock with a display effect, a Toyota badge, and a screensaver. There are two themes, Climate and Night.
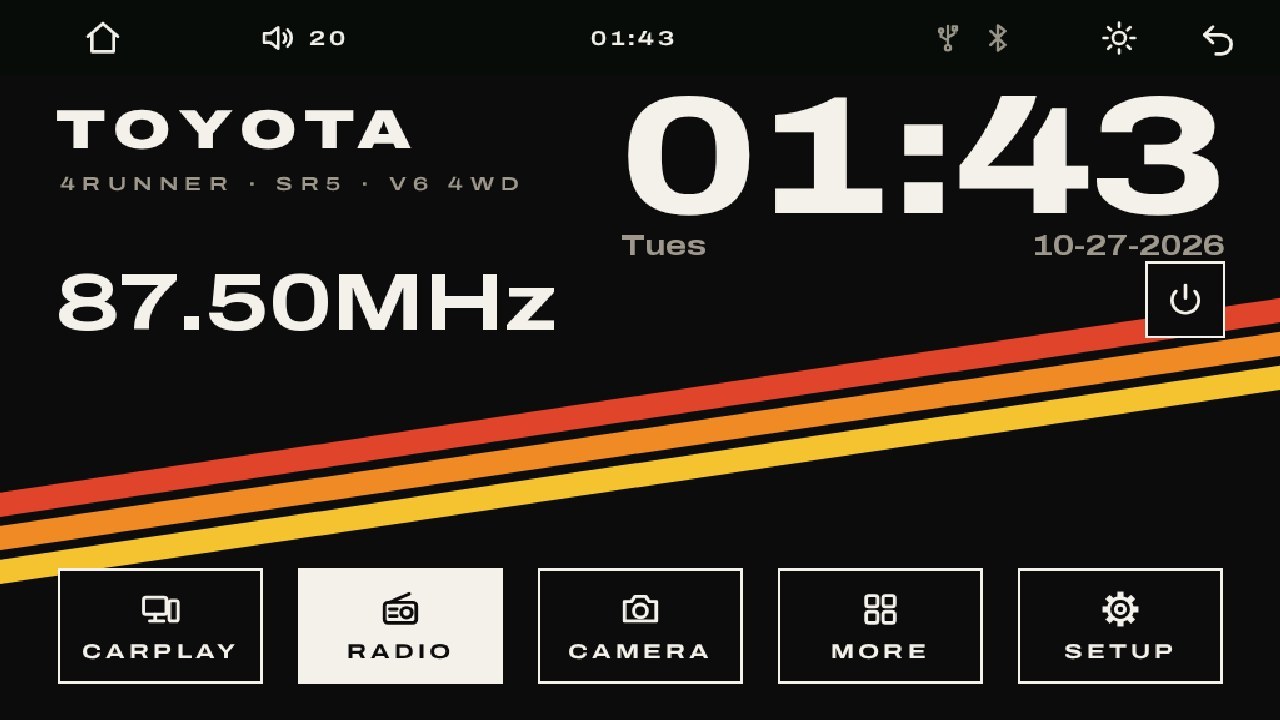
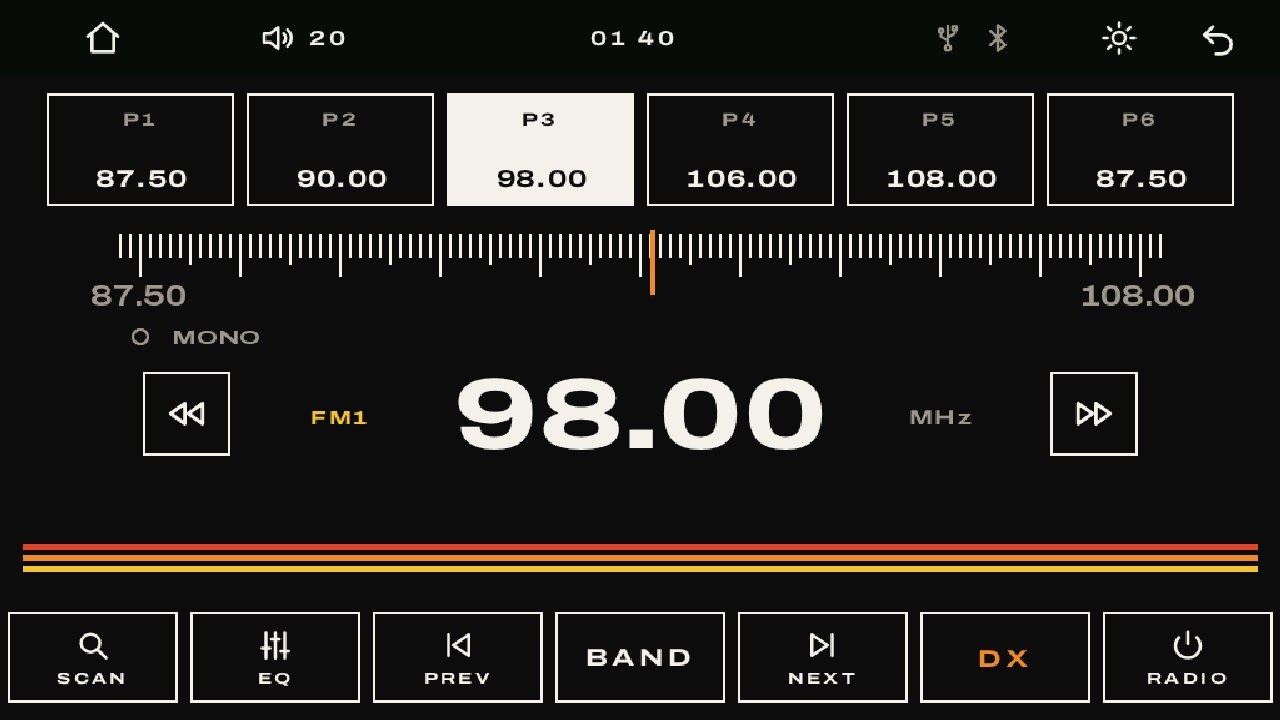
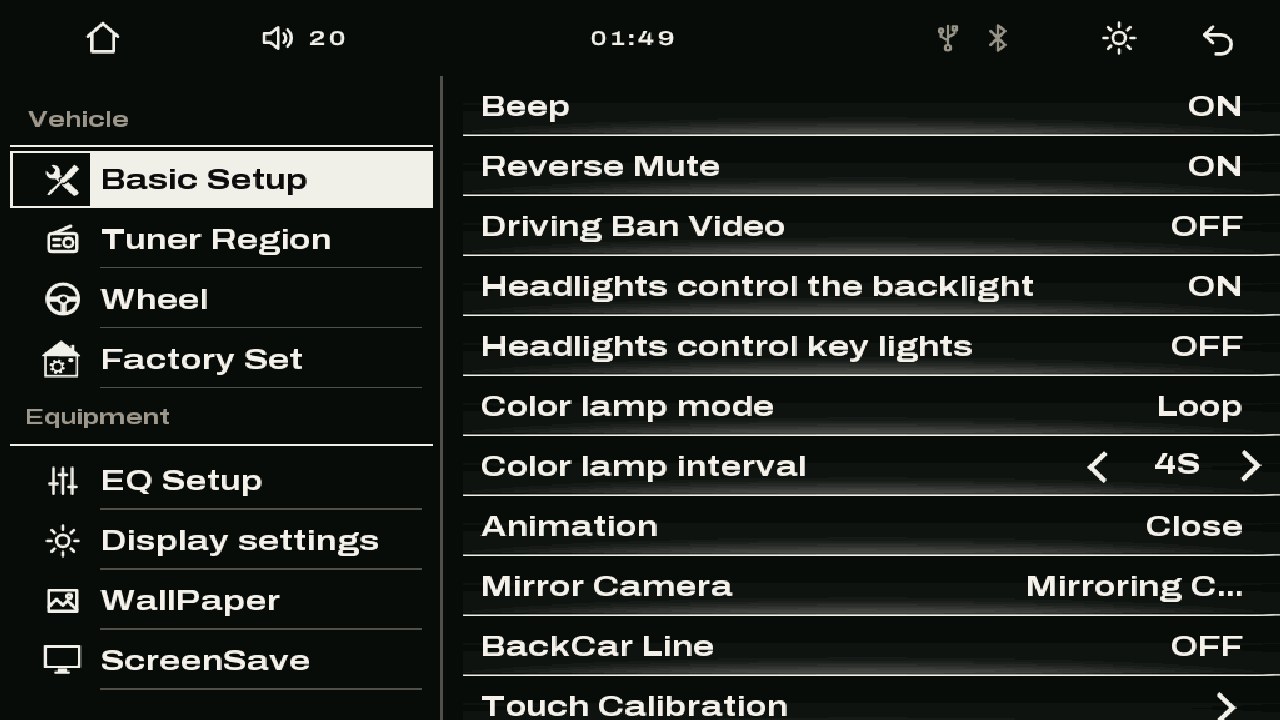
tone down some of the extra vibrance... blinding at night...
You missed the colon. The colon is still being clipped.
9Where it stands
[YOUR LINE: update this when it changes.]
- In the truck: support's firmware with its own panel table, so no flicker. On top of it: my logo, upright; Play/Pause on the wheel; English, no beep, yellow lamps; the touch keys kept.
- Built and tested, not yet flashed: the radio on/off button and the US band [CHECK: did this one go in?], and the whole retro UI.
- In the emulator: the retro UI runs and passes its tests.
- Still research: live MPG over K-line from an ESP32, and casting from a Raspberry Pi through the video input.
[YOUR LINE: what you learned, or what comes next.]